
Kitchen Backsplash Installation in Brea, CA
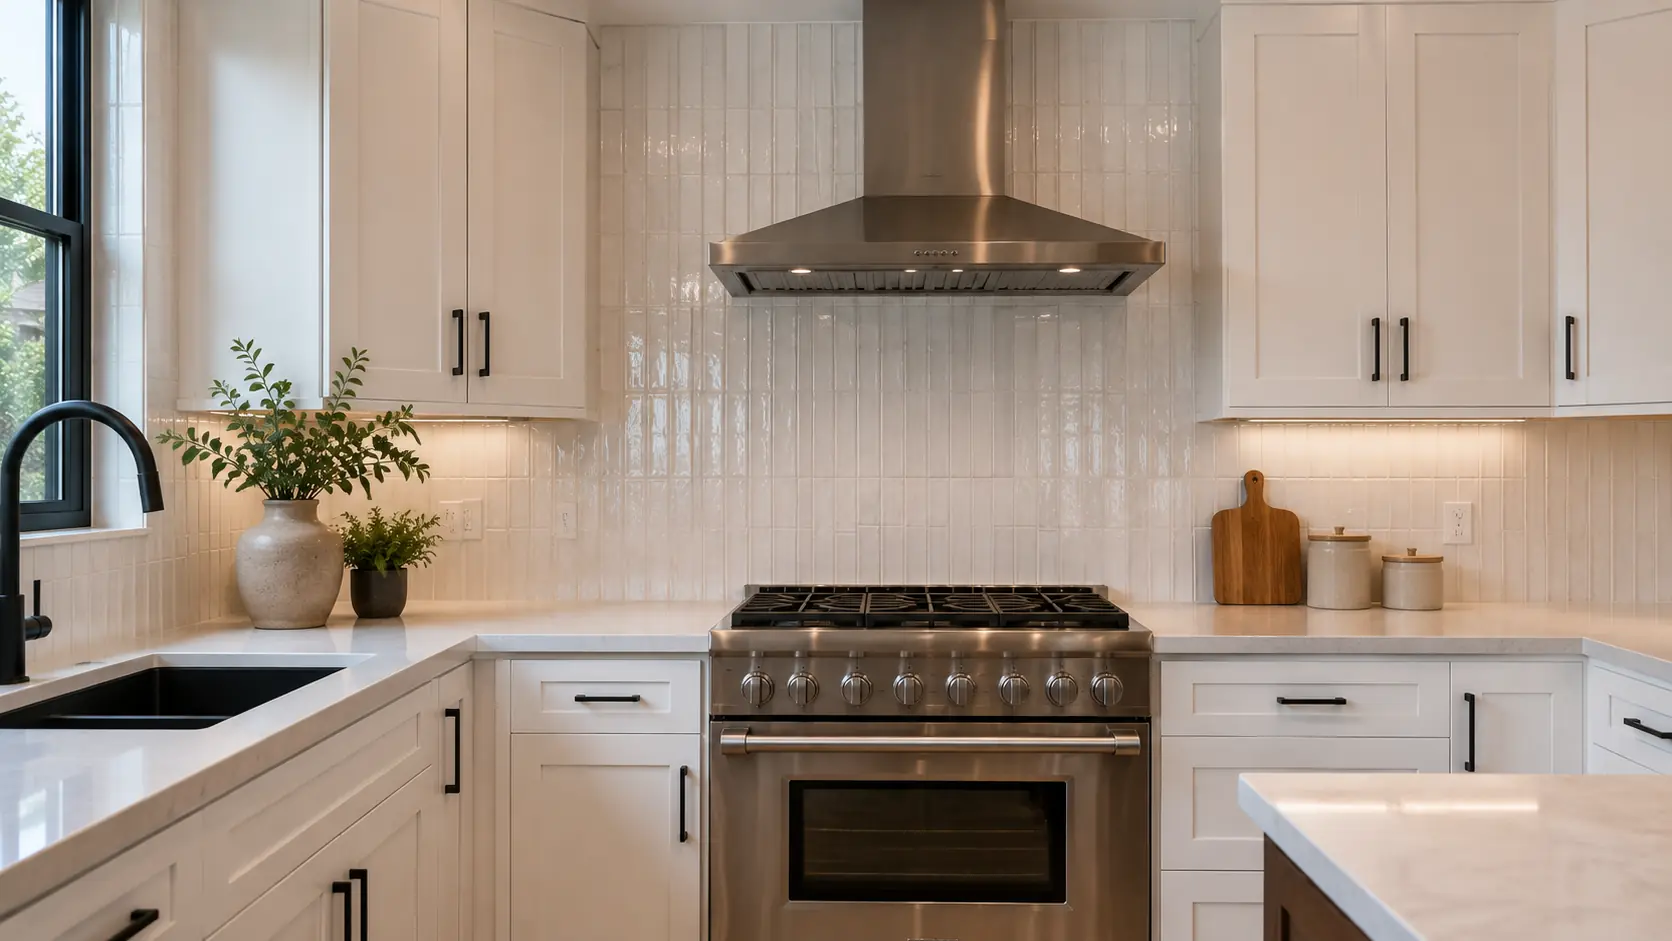
Kitchen backsplash installation in Brea, CA includes everything from classic subway tile to herringbone and mosaic patterns, set with clean cuts around outlets, switches, and cabinet edges so the finished wall reads as one continuous surface, not a patched-together grid.
From Subway to Herringbone
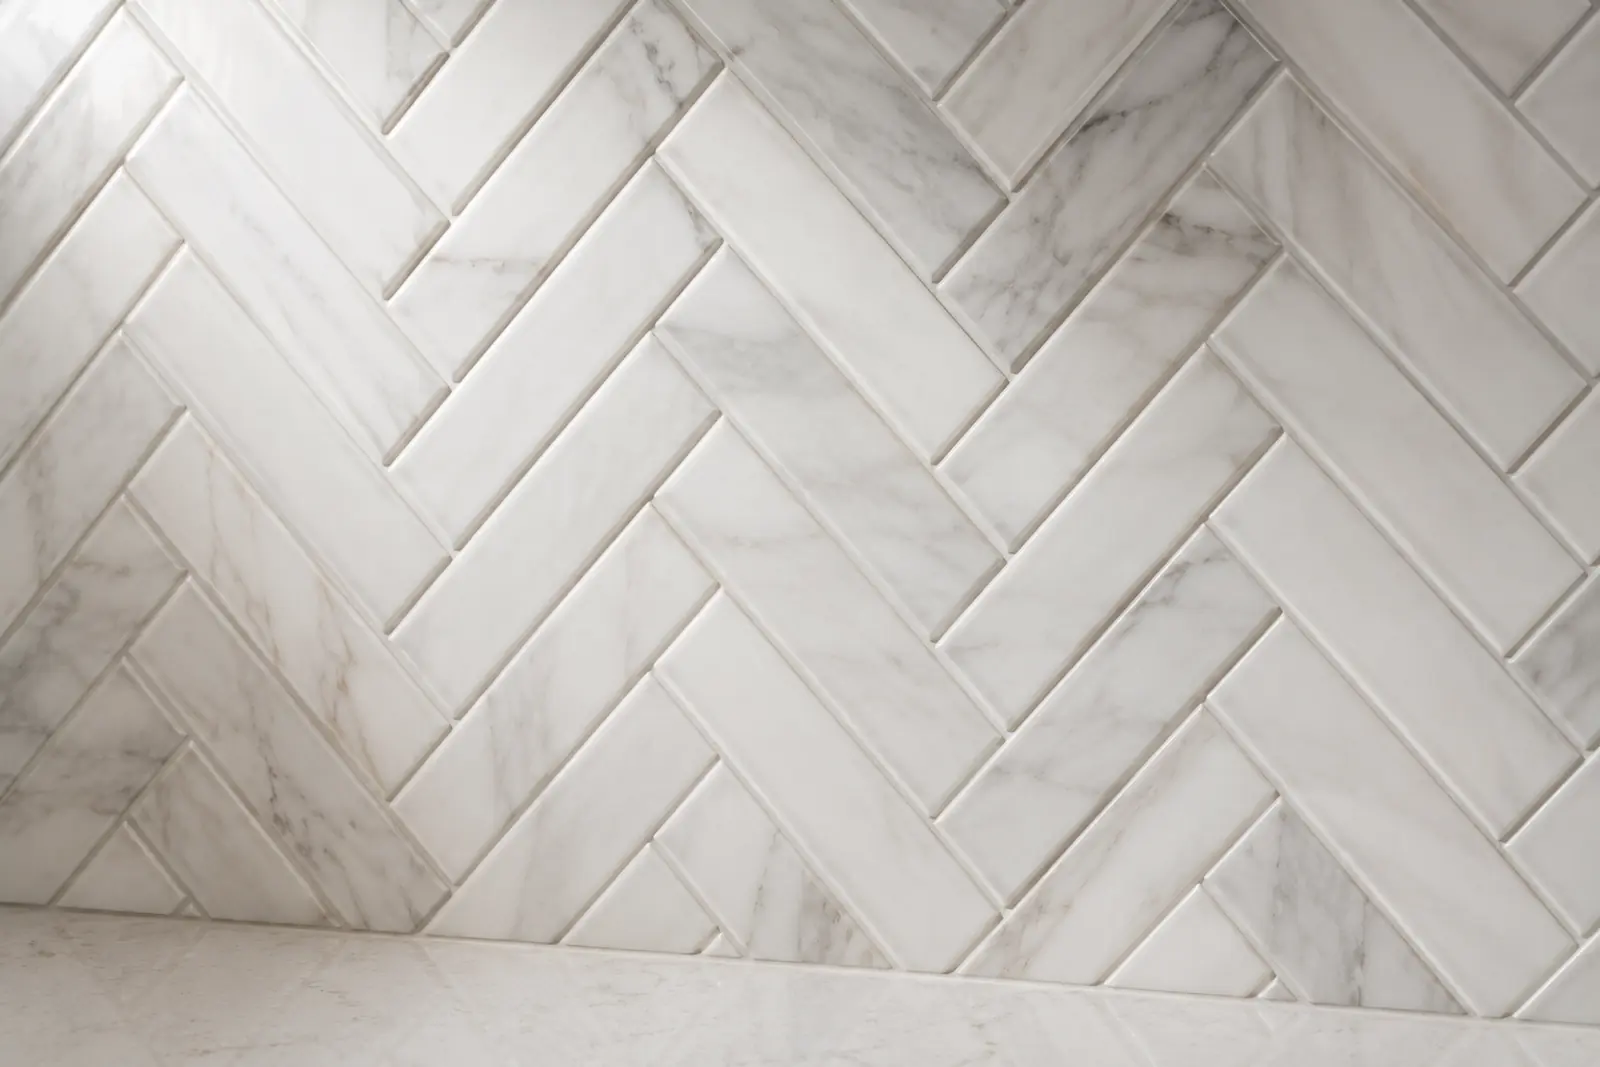
Subway tile backsplash in a straight or offset stack is the fastest layout to set and keeps grout lines predictable. Herringbone backsplash and other angled patterns take longer — every piece needs a mitered or cut edge at the wall’s start and end, and the whole pattern gets dry-laid first to keep the chevrons symmetric across the wall. Mosaic sheets sit in between: they can cover a wall faster than piece-by-piece tile, but uneven sheet spacing and lippage are more noticeable than in a straight subway layout.
Clean Cuts Around Outlets & Switches
A backsplash wall has obstacles a shower wall doesn’t — outlets, switches, under-cabinet lighting, and the gap where the counter meets the wall. Every outlet gets a full tile cut around it rather than tile butted up against the cover plate, and cover plates get swapped for slightly oversized ones after tiling so the cut edge stays hidden. Getting the kitchen wall tile layout right means planning outlet and switch locations into the grid before the first piece goes up, not routing around them as problems come up mid-install.
What Goes Into a Properly Installed Backsplash
A kitchen backsplash installation in Brea, CA starts with confirming whether the wall surface is flat and clean enough to bond tile directly or needs a skim coat first. From there, the layout gets planned around fixed points — outlets, the range hood, cabinet edges — so cuts land in the least visible spots rather than centered on the wall. Thinset for a wall application is mixed thicker than a floor mix, per TCNA Handbook and ANSI A108 setting guidelines, to keep it from sliding before it sets — a bigger factor with larger-format tile. Setting starts from a level reference line, not the countertop, since countertops aren’t always perfectly level. Grout gets chosen based on the tile’s actual gap width — narrow joints on herringbone and subway typically call for unsanded grout, while wider mosaic sheet joints usually take sanded. Natural stone tile, including marble subway or herringbone, gets sealed before grouting to keep grout haze from staining the stone — skipping that step is the most common mistake that shows up later as permanently discolored tile.
Kitchen backsplash costs vary based on square footage, tile material, pattern complexity, and how much cutting the layout requires around outlets and cabinets. See the full Brea tile installation cost guide for typical project ranges and the factors that affect pricing.
Pairing a new backsplash with a kitchen floor refresh? Large-format floor tile installation uses the same substrate and layout standards applied across our full tile installation in Brea services.
Kitchen Backsplash Installation Brea FAQ
How much does a kitchen backsplash cost in Brea?
Costs vary based on square footage, tile material, and pattern complexity — subway tile costs less to install than herringbone or mosaic. See the Brea tile installation cost guide for typical project ranges.
How long does a backsplash take to install?
Most kitchen backsplash installations take 2–4 days from layout through grout cure, depending on pattern complexity, tile size, and how many outlets and switches the layout has to work around.
Can you install a backsplash without removing the countertops?
Yes. In most cases the backsplash tile sets directly above the existing countertop without removing it, as long as the counter edge is protected during the work.
Is herringbone more expensive than subway tile?
Yes, typically. Herringbone costs more to install than subway tile because of the extra cutting, dry-fitting, and time required to keep the pattern symmetric, even when using the same tile material.